Closest Location:
Portland
Open:
7:00AM-8:00PM
PARKROSE HARDWARE


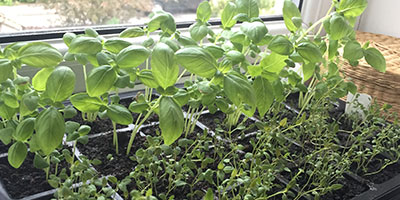
HOW TO START PLANTS FROM SEED
Starting plants from seed isn't hard. If Mother Nature can do it, surely you can too. Just remember, plants in the wild send out hundreds, sometimes thousands, of seeds just to form a few, new, healthy plants. This is to say, if you lose a few seedlings along the way, don’t consider yourself a bad parent. We all lose plants sometimes. Grow on, gardener!
What you’ll need
- Seeds
- Watering tray
- Liquid fertilizer
- Fan
- Scissors
- Plastic pots, peat pots or peat pucks
- Soil-less seed-starting mix or coconut coir
SEVEN STEPS TO STARTING PLANTS FROM SEED
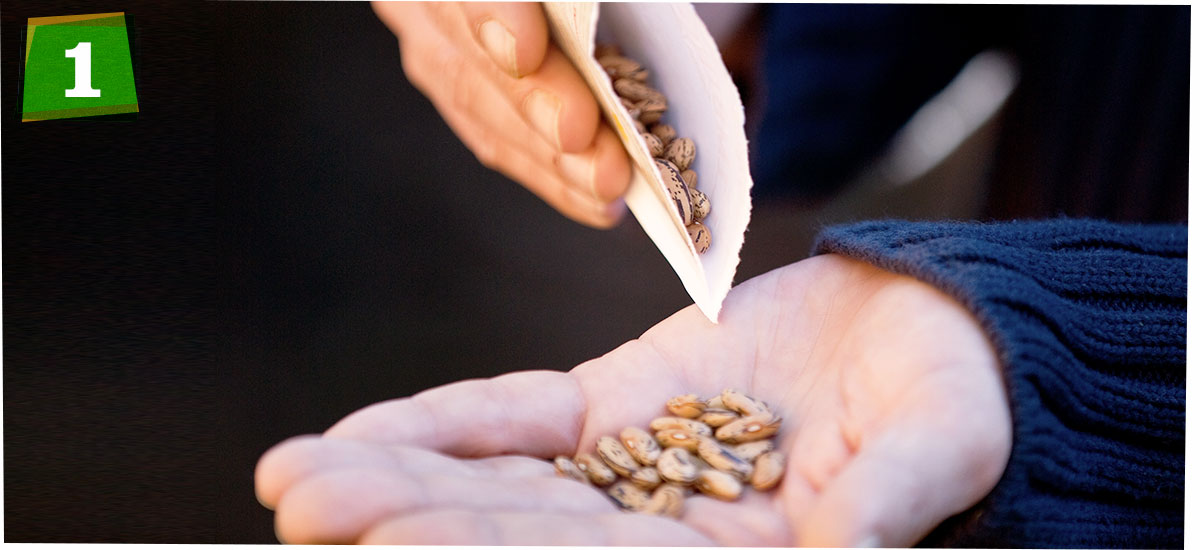
1. PREPARE YOUR SEED
If your seeds are saved from a garden, you may need to do some prep work. Certain seeds need a deep chill to get them started (stratification); some need a little help breaking out of their seed coats (scarification). If you’re using seed from packets, skip this step—they’re ready to go.

2. PICK YOUR MEDIUM
No, not your clairvoyant spiritualist who can speak to the dead, your growing medium. This can be anything from coconut coir to soilless seed-starting mix, or even a homemade blend. This cannot be garden soil, ever. Garden soil is too dense for tiny roots. It’s not sterile. It can kill seedlings indoors. It’s simply not an option.

3. PLANT & WAIT
Here again you’ll want to check for the specific needs of your seeds. Some like to be buried and put in darkness. Others like to lay right atop the earth, with a heating pad beneath. Universal needs? Damp, not wet, soil. Lots of seeds need moisture to germinate so keep a close eye on them while you’re waiting for sprouts.

4. FEED WITH LIGHT (& FOOD)
So nature gives your seed enough energy to germinate. It doesn’t give it the energy to grow. That’s where Plant Mama/Plant Papa come in! A few starter mixes include fertilizer. If your medium has no nutrients, such as coconut coir, use a water-soluble fertilizer, watered-down to half strength—or less. Feed from the bottom so nothing gets dislodged. Lots of light.

5. KILL YOUR DARLINGS
Yes, I said it. You’ve got to crack a few eggs to make an omelet, and you have to kill some perfectly good seedlings to get the best ones to grow strong. Remember those hundreds of seeds sent out in nature? You’re the deciding hand now, and you have to thin the crop. Depending on your seed, if you’ve planted more than one in a pot/puck, snip all but the strongest. Don’t pluck! You risk damaging the teeny-tiny roots of your healthiest seedling.

6. INCREASE AIR CIRCULATION
Consider how much stress a tiny sprout is under when it grows naturally: Rain, temperature spikes and dips, wind, cats. There’s a lot going on out there. You need to provide some stress for your babies or they’ll end up weak. Some people gently stroke their growing plants. You can set a fan and kill two birds with one stone. Air flow reduces the chances of damping off (seedling death caused by high humidity and fungi), and a gentle breeze strengthens your plants physically.

7. KEEP ON KEEPING ON
Continue to feed and water. Be gentle, don’t douse them. When it’s time to move outdoors, do so gradually. Leave your trays outside, somewhere sheltered, for a few hours at a time. After a day or two, they’ll be ready for the garden.